

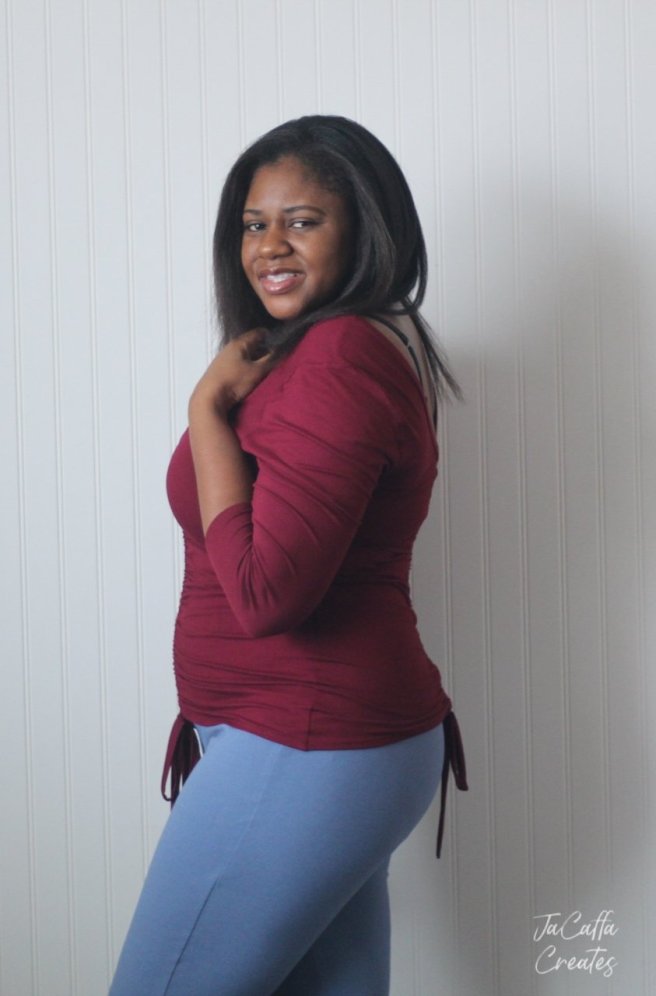
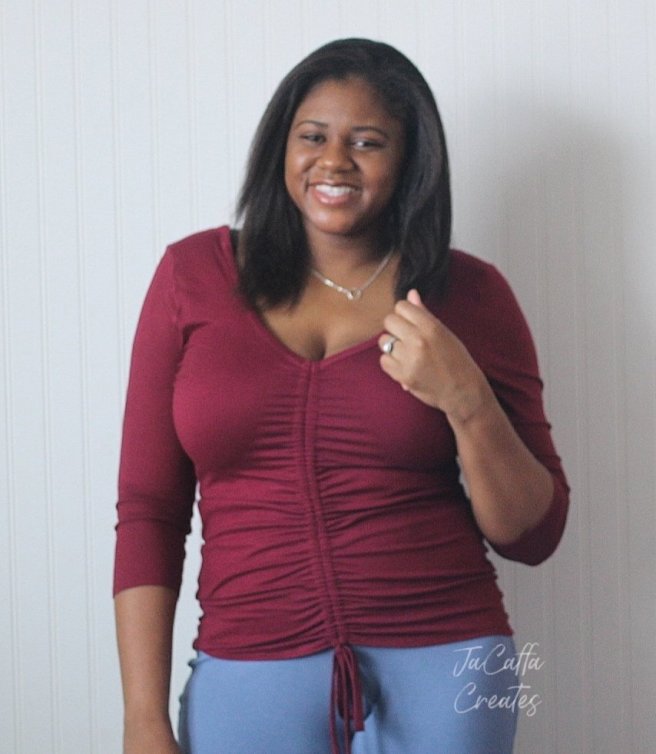
This has to be one of my top favorite shirt patterns. This is my 3rd Ruched tee and I wanted to try something different. The ruching is made to be worn in the back but also can be worn in the front ( I usually wear the ruching in the front). I Also love how the ruching accentuates the curve of the back when worn the “right way”.
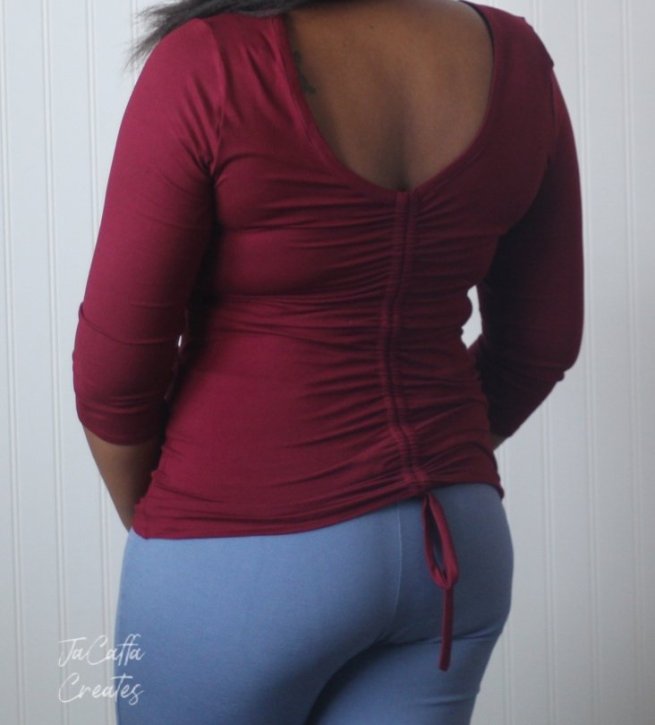
So, why not have ruching in the front and back!
What I did
- Cut 4 back pieces
- Cut 2 neckbindings-Next time I’ll measure the neckline after I sew the shoulder seams together and cut the band a little shorter than the measurement. I would like it to be snug, so it doesn’t slip off the shoulders so easily.
- Cut 2 ties
* NOTE – label the bodice pieces, left and right, front and back. *
It got a little confusing.
Sewing Together
- Sewed the shoulder seams
- Sewed on the sleeves and side seams.
* Now I have 2 pieces a left side and a right *
- Sewed the neckbinding on both pieces
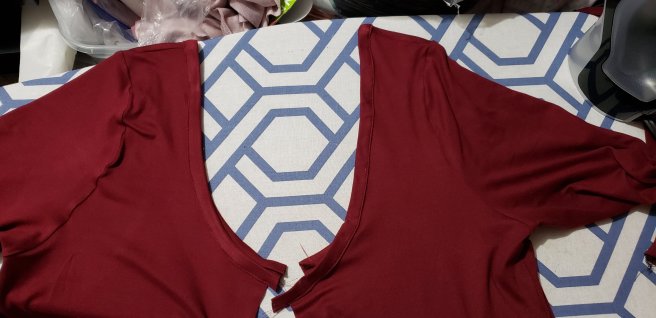
Taking the 2 front pieces right sides together and sewed them together with 1/2″ seam allowance, then did the same with the back pieces.
Then, I followed the given pattern directions for the hem, casing and ties.
Fabric
I used a light weight burgundy double brushed polyester from Sincerely Rylee.
That’s it! I really liked how it turned out. I see a Summery one in my future.
<Link to my 1st Ruched Tee>
Until next time, Happy Creating!
**Affiliate Link
Some of the links in this post are affiliate links if you go through them to make a purchase I will earn a commission. Keep in mind that I link these companies and their products because of their quality and not because of the commission I receive.**
