
Hi!
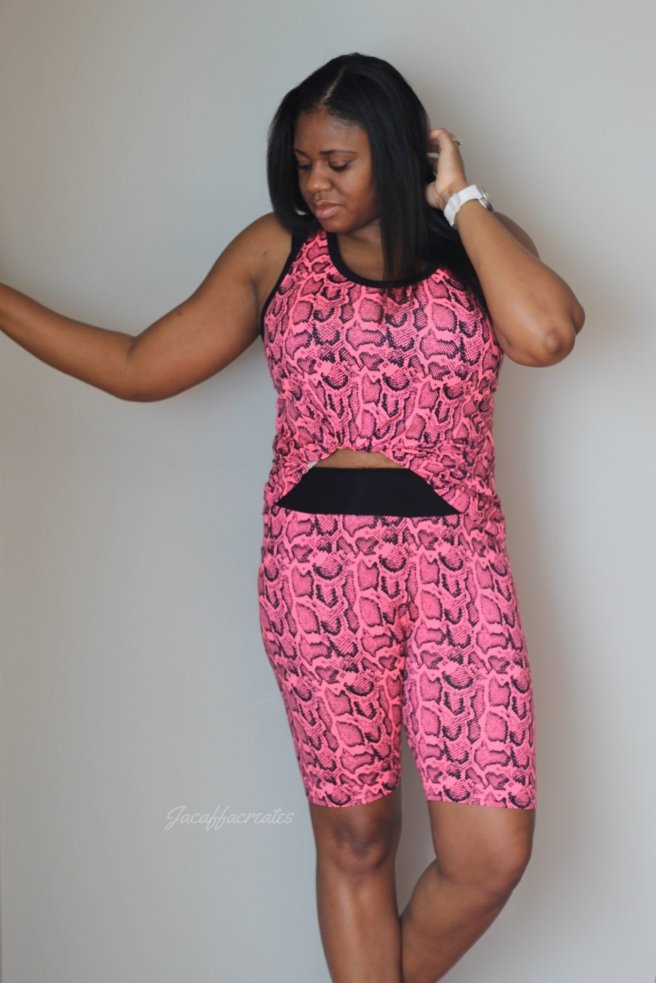
On my quest to consistently workout, I thought that I would finally make a decent workout outfit, in hopes to help motivate myself to get physical fit… so far it’s kinda working
When Mily Mae Fabrics stocked this neon pink and green brushed polyester, I thought, that would make an awesome pair of leggings.
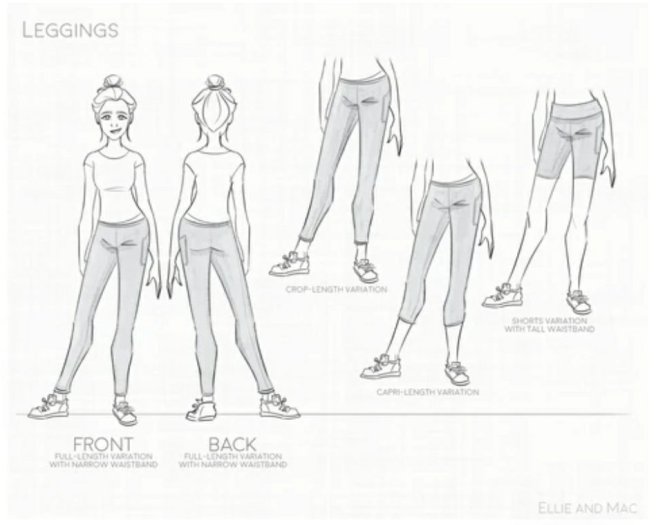
So, I picked my favorite legging pattern, the Urban Leggings from Ellie and Mac. These leggings fit perfectly with no alterations, I kid you not! I always have extra fabric in the crotch and the wristbands are either too short or too long, when it comes to pants, I don’t have neither of those problems with the Urban Leggings.
I made the tall waist contour waistband and played around with the length of the shorts, to get a longer biker short.
Some Tips
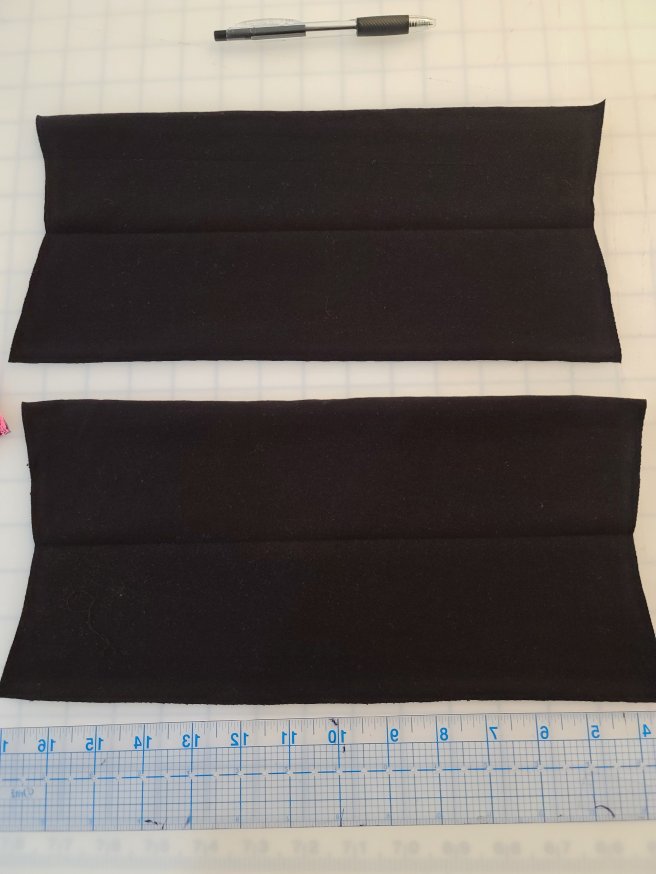
When working with a contour waistband and adding clear elastic. I fold the waistband in half, wrong sides together, like shown and press.

*I fold all my bands in half wrong sides together (waist, neck, cuffs) and press them before sewing the short ends together. I find it easier to align the raw edges and press, this way it’s easier to jump right into sewing the band onto the body of the garment.*
I mark the crease with chalk or a fabric marker. Then sew the waistband together at the side seams
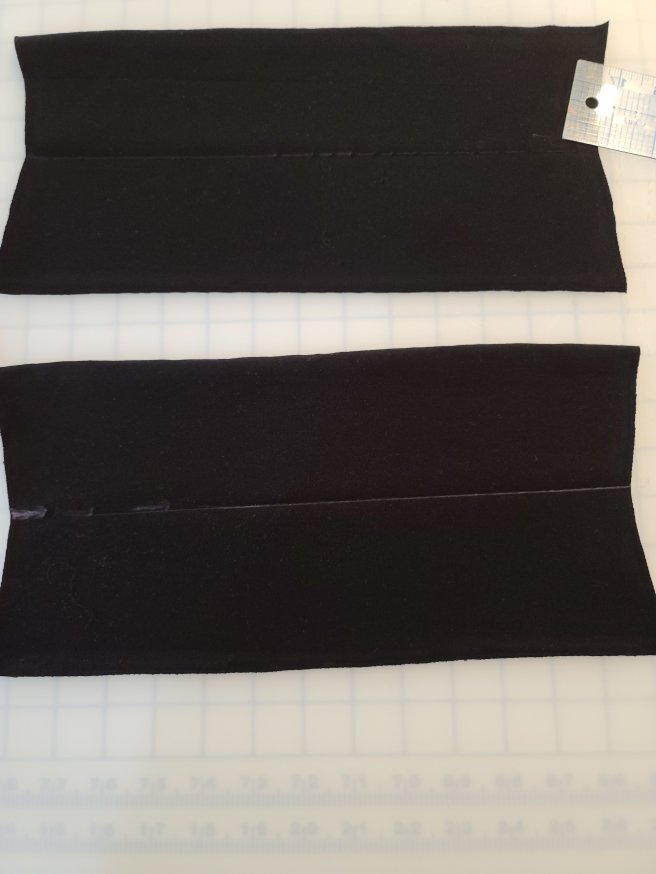
Now use the marked crease line to line up the edge of the elastic on either side. Using a zigzag stitch sew the elastic in place. I start at a side seam and sew around until I meet back at the beginning and cut.
☆Video below to help☆
The inside of the waistband

The outside of the waistband

Fold the waistband over wrong sides together matching raw edges. Sew the waistband onto the legs…making sure that the zigzag stitching is inside towards the body.
~~~~~~~~~~~~~~~~~~~~~~~~~~~~~~~~
For the top I used another Ellie and Mac Pattern, The Slow Sunday Top and Dress.

I made the narrow racer back tank.
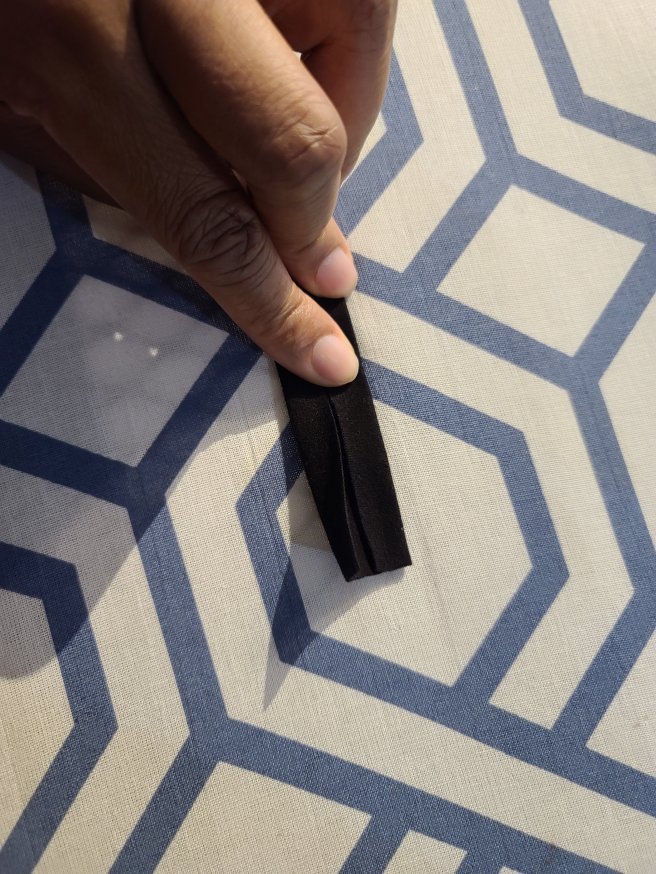
I wanted binding instead of bands for the neck and arms. I pressed the bands in quarters.
Fold the band wrong sides together, press
Open the band up. Fold one side to middle crease. Press.
☆Video below to help☆
Fold other side to the middle crease. Press.
Fold one side to the other side. Press.

You should have 4 creases.

Sew the short edges right sides together. Quarter the neck and arms on the bodice.
Quarter the all the binding.
Line up the binding on the neck and on the arms raw edges, matching quarter points. Right side of the binding to the wrong side of the bodice. Sew along the first crease with a long stitch.
Trim seam allowances.
Fold over the binding twice this is where the creases help.
Top stitch with a long stitch.
☆Video below to help☆
Hoped some of these tricks helped.
This is the most comfortable workout outfit and stylish I have ever owned! I think I’ll make a matching neon green one 😉.


Happy Creating!
**Affiliate Link
Some of the links in this post are affiliate links if you go through them to make a purchase I will earn a commission. Keep in mind that I link these companies and their products because of their quality and not because of the commission I receive.**
