

Hi👋🏾
Today I’m going to show you how I make my clothing labels using my cricut machine.
This not a detailed tutorial on how to use the cricut software and machine, just a tiny glimpse of what it is able to do to in order to make labels.
What you’ll need
- Ribbon 5/8″ wide
- Heat transfer vinyl (HTV)
- Cricut or cutting machine
- Heat press or Iron
- Computer
Create a name/logo/image you would like to use. I’m using my name. I made mine in Google drawings using this tutorial. You certainly can use cricut for this, with cricut fonts or download free fonts from dafont.
Once I created my name. I uploaded the image into cricut design space, sized it to 2″ by 1/2″ multipled it to get a total of 10.

Then cut.
*Remember to mirror your image before cutting…😒
Also this project is great for using up scraps.

Now that it’s cut, you got to weed.
I usually trim the clear film down some more. Place about five at a time on the ribbon making sure there is enough space between them, so there is enough room on each side to sew them down.
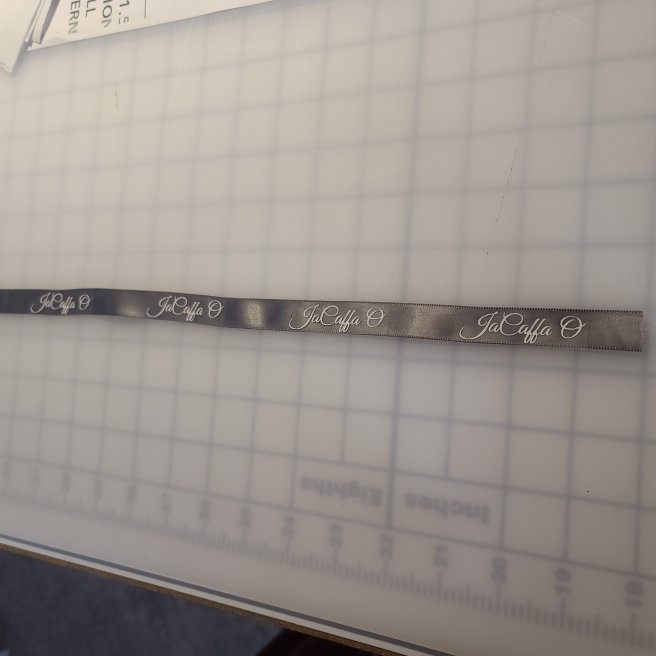
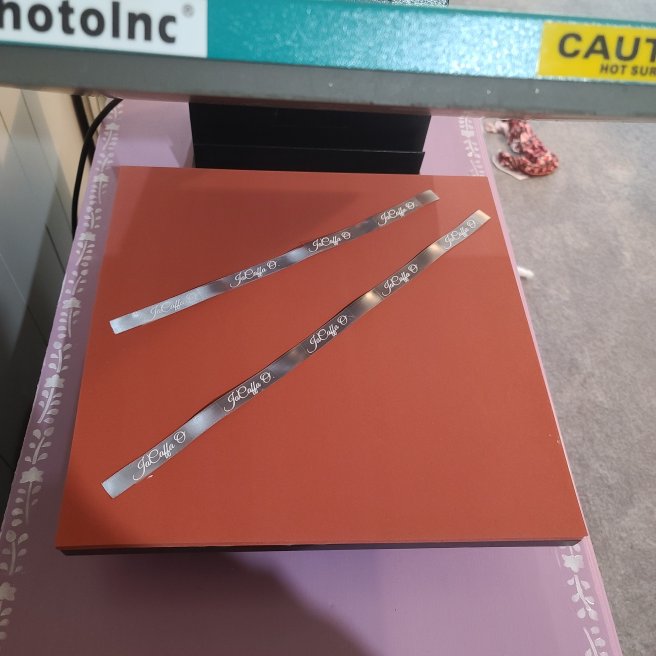
I use my heat press to adhere them to the ribbon (you can certainly use an iron).
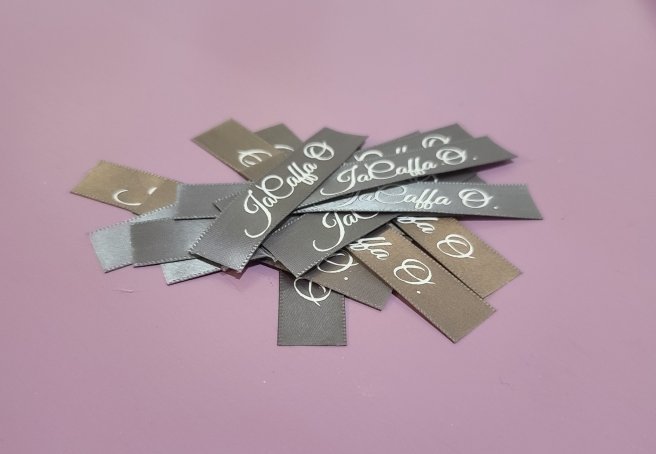
Cut and use a lighter to seal the short edges, so they don’t unravel.

Now, I do order my daughter’s labels from an Etsy shop, The Heart Of Wonder. I would be making labels all day if I didn’t outsource.
I also made the image/text in Google Draw using the tutorial link above and sent the image to the shop! These labels iron on. I iron and sewn them on because kids are rough. Oh, and my girls never complain that they are itchy either 😊

It’s tedious process but a simple one.
Until next time…
Happy Creating!

Hi great readingg your post