

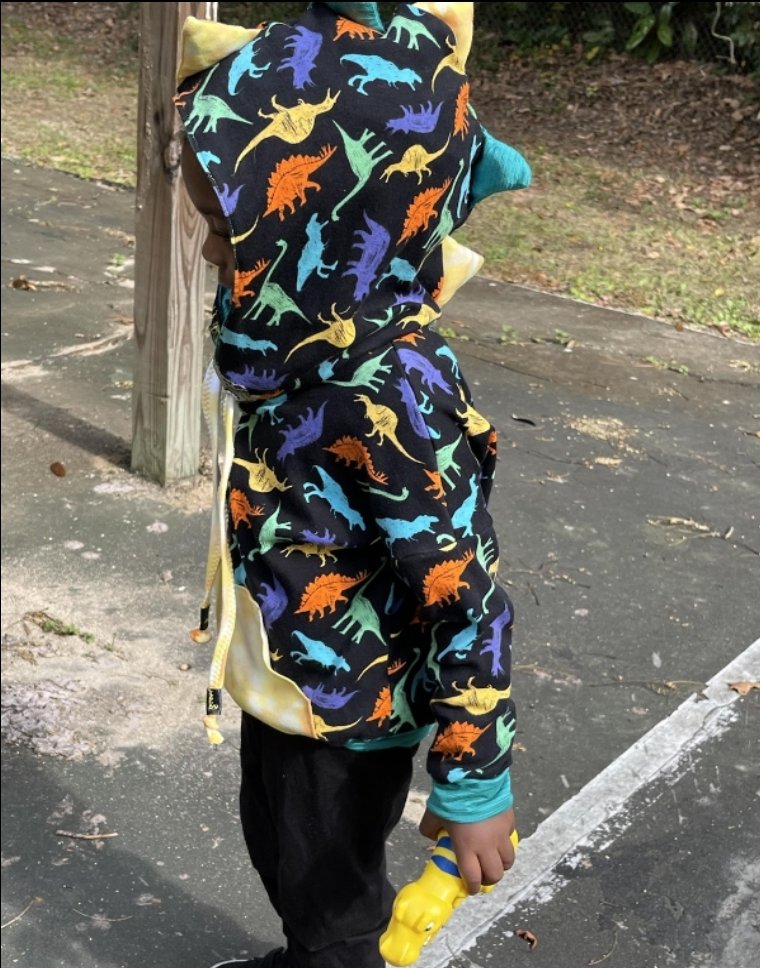
This past Friday I released my 2nd pattern The Bridge Town Hoodie and One of my lovely testers JaGerre Johnson took her son’s hoodie up a notch by adding spikes to his hood. Here’s her tutorial on how to add spikes to the Bridge Town Hood:
Trace a triangle on paper or use a free printable found here

Place the triangle on your chosen fabric, cut on the fold or cut 2 triangles per spike.

Sew using a stretch stitch or serge 2 sides of the spike leaving the bottom open

Turn right side out

Stuff your spike using scraps, interfacing batting, felt, or whatever you like. I used “serger guts” seen here!

Pin the spikes to the right side of the hoodie piece, spacing and amount of spikes are solely up to you.
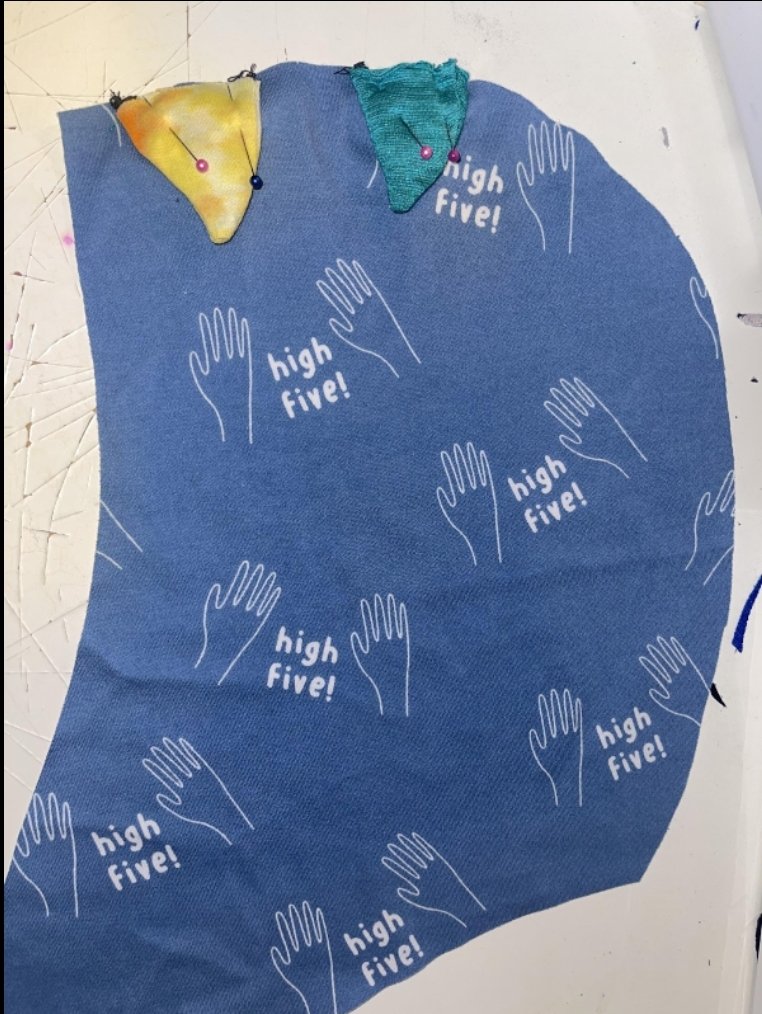
Sew a basting stitch to attach the spikes to the right side of the hood.
Place both hoodie pieces right sides together, make sure that all layers are flushed
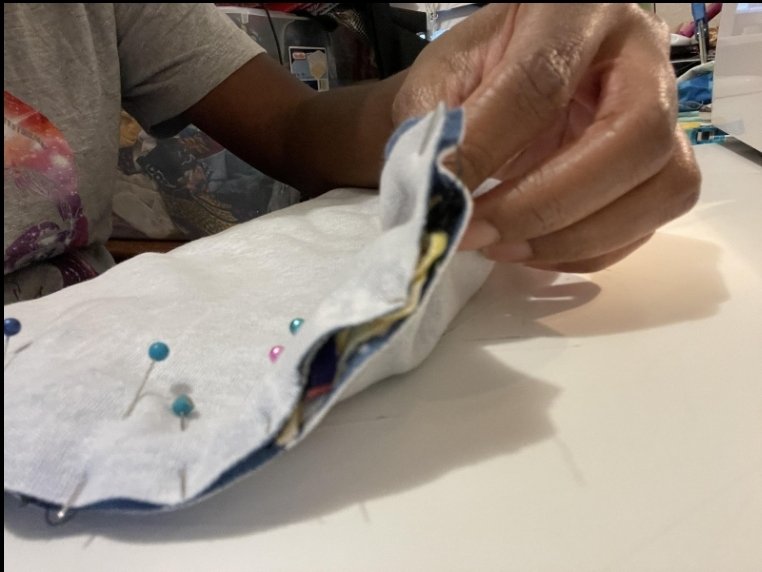
Turn right side out and place inner and outer hoodie together as instructed in the pattern.
~JaGerre Johnson
Happy Creating!
